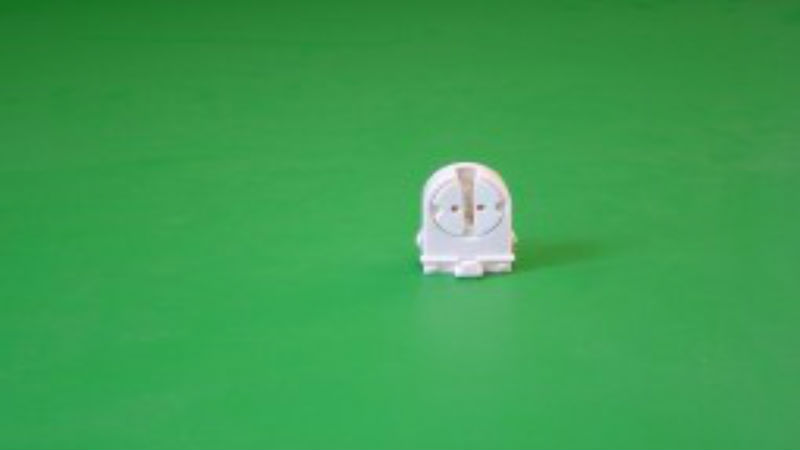
One of the many benefits of using fluorescent lighting is that it is really very low maintenance. However, there may come a time when you need to install replacement sockets because of upgrading or retrofitting needs or perhaps because of a failure in the current component.
The good news is that most people will have no difficulty in completing this repair themselves, even if they are not already do-it-yourselfers. The other bit of good news is that if you don’t want to complete the repair on your own, it is a simple task that will just take a few minutes for an electrician, so it will not be costly even if you bring in a professional.
The Socket or the Bulb?
If the problem with the light seems to be continual flickering, a loud humming noise or if the casing or the bulb ends are a dark black or gray, it is most likely not the socket but the bulb.
Take out the bulb and try a new bulb or a working bulb, and determine if that corrects the problem. If you notice the contacts in the socket seem to be dirty or discolored, disconnect the power and use a Q-tip moistened with isopropyl alcohol to remove the residue.
Failing to Shut Off the Power
Whenever you are going to work on fluorescent fixtures, it is important to not only turn the switch off at the wall but also to shut off the appropriate circuit breaker. For extra safety check the fixture with a volt meter to make sure there is no power to the fixture before you start to work on the system.
Buy the Right Replacement
It is a good idea to bring the old socket into the store or to have to compare when buying replacement sockets online. Information on the specific socket will be essential, including if it is shunted or non-shunted. Most fluorescent fixtures will use a shunted socket, which has only two wires going into the socket.
A non-shunted socket will have holes for four wires. This will include a white wire on one side, a black wire on the other, and a neutral wire that connects the two sides. You cannot interchange these two configurations as it will result in a short or a failure in the fixture.
Not Inserting Wires Correctly
Generally, the wires and the actual replacement sockets themselves will just snap into and out of the fixture with ease once you remove the ballast cover. It will be critical to insert the new wires into the holes of the tombstone completely to ensure the connection is made inside the socket.
A paperclip or a fine piece of wire can be used to release the spring that holds the wires in the socket, and it can also be used to open up the clamps to insert the new wires. After that is done, all you need to do is snap the socket back in place, replace the ballast cover, and insert the existing tube or a new one.


